Sunday, September 30, 2007

Sour Cream Chocolate Cookies

Today, I made another recipe that I found at Anna's blog (cookiemadness.net): Sour Cream Chocolate Cookies. I have to say the picture totally caught my eye and made me want to try these when she first posted them, but I don't make cookies from scratch that often. However, I had the time and the extra Hershey's Special Dark Cocoa, from the cake I made at the beginning of the month, so I made a batch today. They are pretty much super amazing.

Sour Cream Chocolate Cookies

1/2 cup butter or margarine, softened
3/4 cup granulated sugar
1/2 cup packed brown sugar
1 egg
1/2 cup sour cream (I don’t recommend using light for this recipe)
1 teaspoon vanilla extract
1-3/4 cups all-purpose flour (spoon, don’t scoop)
1/2 cup unsweetened cocoa powder
1 teaspoon baking powder
1/2 teaspoon baking soda
1/4 teaspoon salt
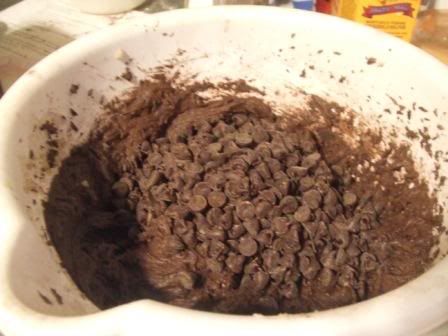
1 1/2 cups semi-sweet chocolate chips or use a mixture of chocolate and white chips

Preheat oven to 350 degree F.

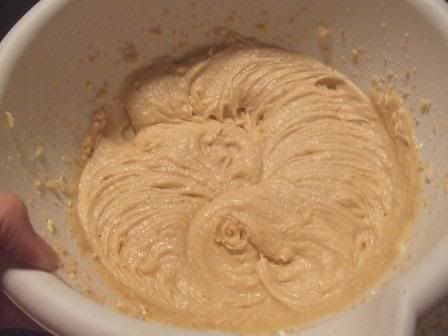
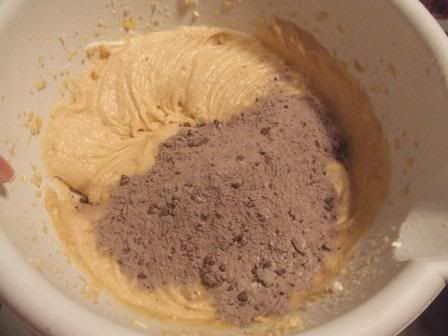
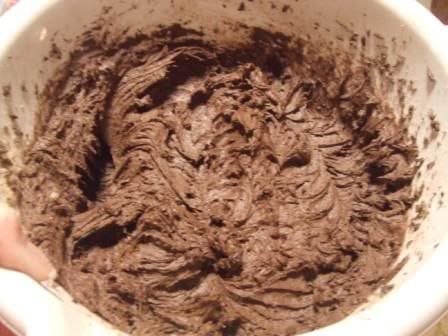
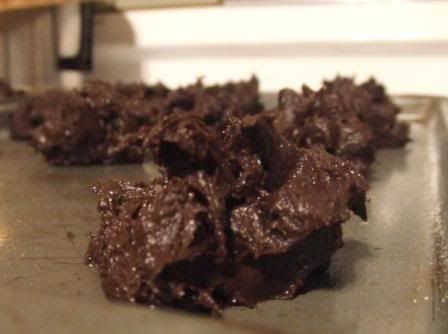
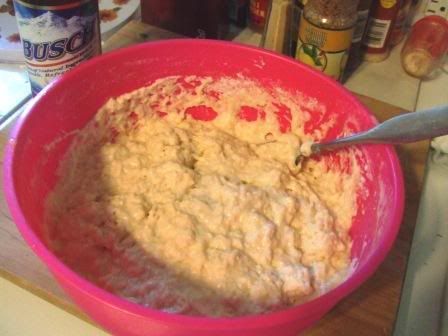
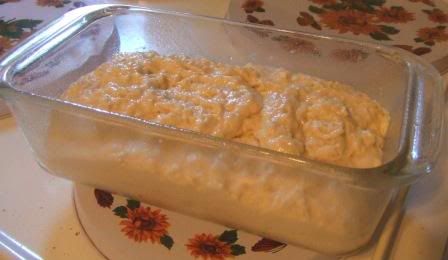
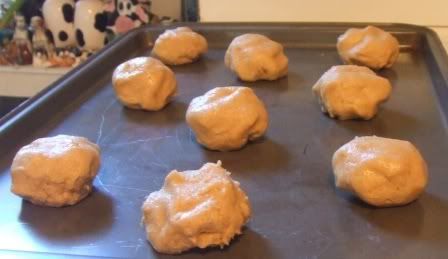
In a mixing bowl, cream butter and both sugars. Beat in egg, sour cream and vanilla. Combine dry ingredients; gradually add to the creamed mixture. Stir in chips. Drop by rounded
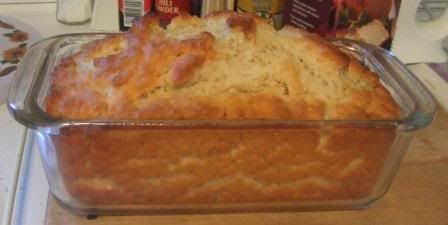
tablespoonfuls 2 in. apart onto greased baking sheets. Bake at 350° for 12 minutes
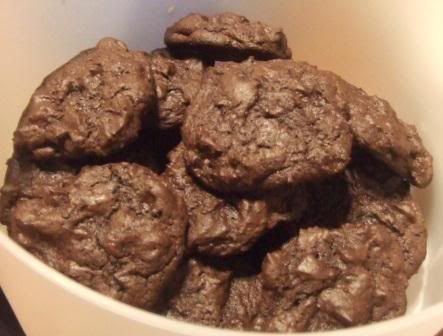
or until set - do not overbake. They should still look kind of moist on top when you take them out. They will set as they cool.

Cool for 2 minutes before removing to wire racks to cool completely.

Makes about 3 dozen


*I got 33 out of my batch, and I had to use slightly less flour because I had just under the amount of sour cream. Oh and these aren't the quickest cookies I've ever made because you have to cream the stuff and then add other stuff, not everything all at once, so just make sure you have some time.
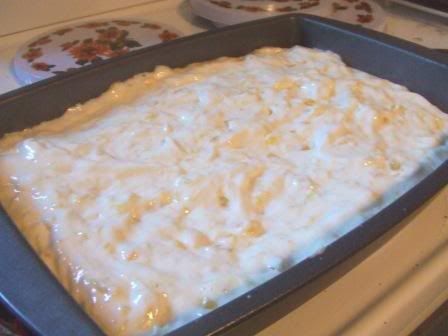
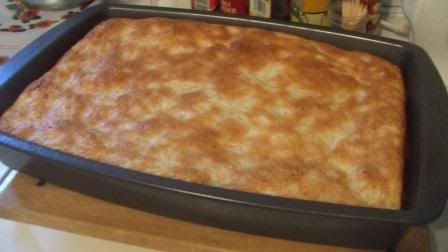
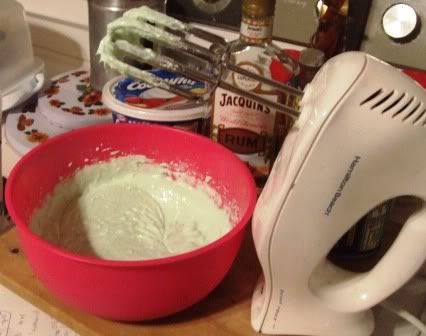
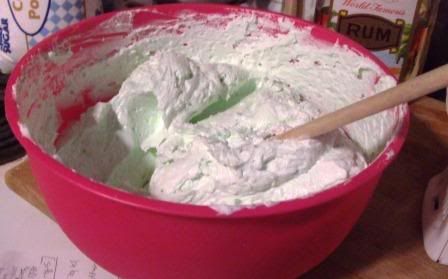
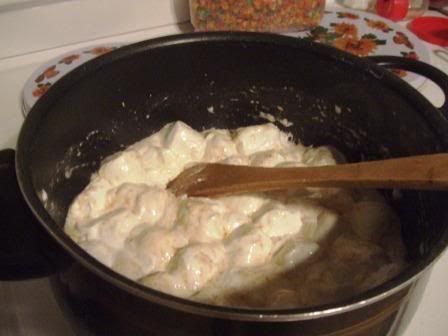
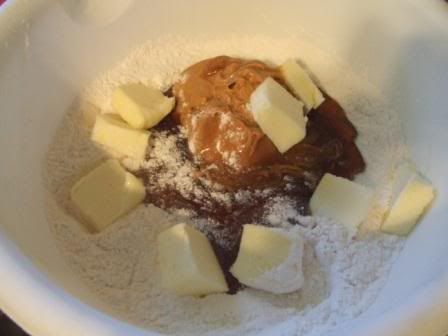
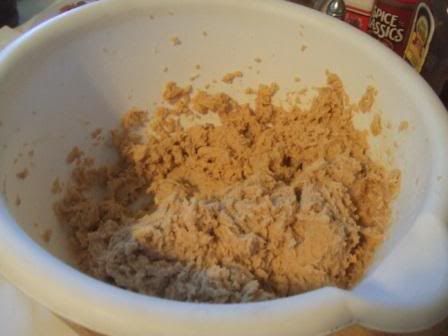
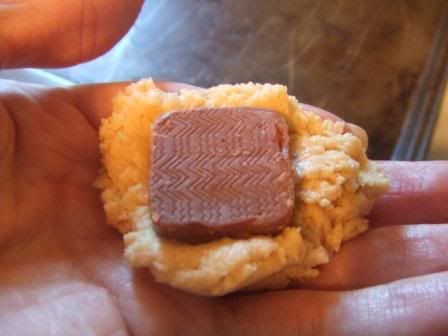
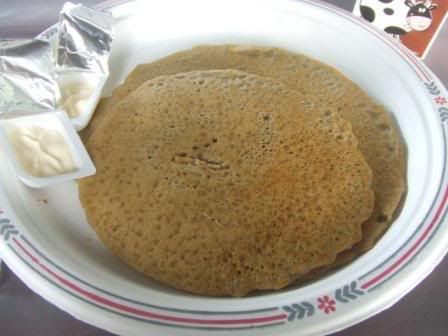
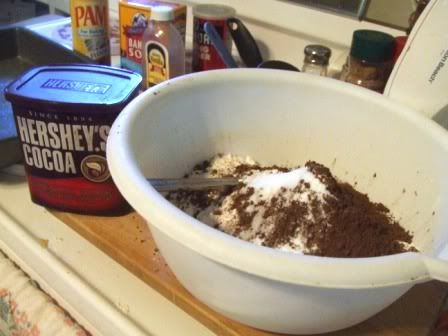
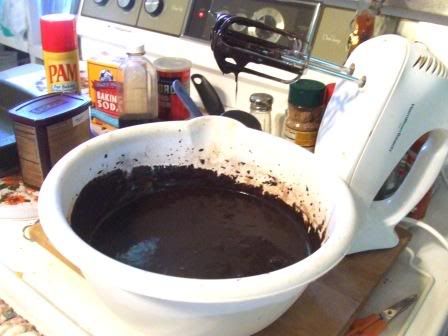
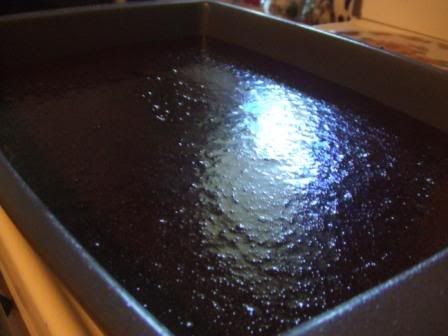
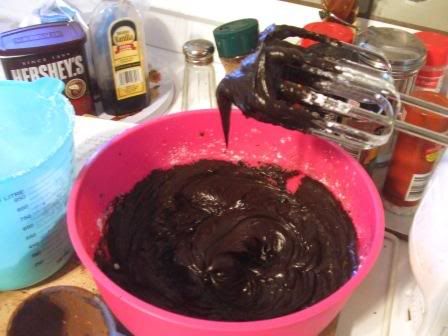
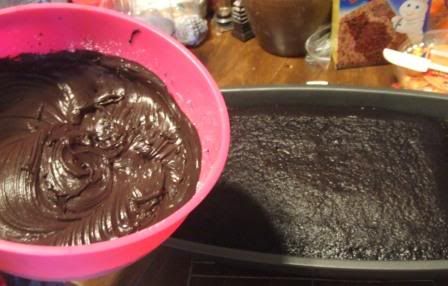
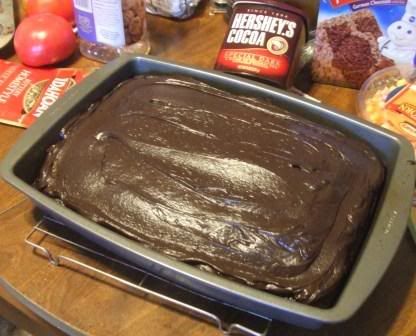
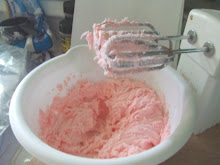

Pics:

Photo Sharing and Video Hosting at Photobucket

Photo Sharing and Video Hosting at Photobucket

Photo Sharing and Video Hosting at Photobucket

Photo Sharing and Video Hosting at Photobucket

Photo Sharing and Video Hosting at Photobucket

Photo Sharing and Video Hosting at Photobucket

Thursday, September 27, 2007

Mojito Cake

On Tuesday evening I made a cake for my boyfriend's sister. I know she is always trying to be healthy, so the cake that Anna from cookiemadness.net posted a little while ago was the perfect idea. The only differences were that I used real rum instead of extract, and I put green food coloring in the icing.

Here is the recipe:

Larry’s Mojito Cake

20 ounce can crushed pineapple, un-drained
Juice of 1 lime (2tbsp lime juice)
1 (1 lb.) box angel food cake mix
8 ounces reduced fat cream cheese, softened
1/4 cup limeade from concentrate
0-4 tablespoons powdered sugar -- I used 4 tablespoons
3 tbsp rum
8 ounce tub Cool Whip Lite (a little over 3 cups)
1/3 cup shredded sweetened coconut
Zest of lime
Mint leaves

Preheat oven to 350 degrees F. Spray a 13x9 inch metal pan with cooking spray. If you use a Pyrex dish, reduce the heat to 325 degrees F. You can also use a 15x10 inch pan, which is what Larry uses.
In a mixing bowl, stir together the pineapple, lime juice and angel food cake mix. Pour the mixture into the pan and bake it using the following cook times – 18-24 minutes for a 15x10 inch pan or about 25 minutes for a 13x9 inch pan. Let cool completely in pan.
In mixing bowl, beat together the softened cream cheese and limeade concentrate. Check for sweetness. Add sugar if you feel you need it – I used 4 tablespoons. Beat in rum extract, then fold in Cool Whip Lite. Spread over cooled cake. Sprinkle with coconut and lime zest. Top each serving with mint leaves.

* I sliced some limes to decorate the top of the cake and left out the mint, which is kind of bad because mint is pretty much the base for a mojito, but oh well.

Here are the pics:

Photo Sharing and Video Hosting at Photobucket

Photo Sharing and Video Hosting at Photobucket

Photo Sharing and Video Hosting at Photobucket

Photo Sharing and Video Hosting at Photobucket

Photo Sharing and Video Hosting at Photobucket

Photo Sharing and Video Hosting at Photobucket

Photo Sharing and Video Hosting at Photobucket

Photo Sharing and Video Hosting at Photobucket

Sunday, September 23, 2007

Beer Bread

A few weeks ago at the county fair I went past a booth from "Tastefully Simple (tastefullysimple.com)" and sampled a bunch of their items. They make things like bread mixes and cheeseball mixes, and stuff to have fancy parties with. It's all really good, but also really expensive. Well I ended up emailing the lady last week and buying one box of the "Bountiful Beer Bread" for $4.99 (plus tax). It makes one loaf, and all you have to do is add a 12oz bottle of beer, and you can put melted butter on top before you put it in the oven. It is INSANELY good. And, as a bonus I found the recipe online so I don't have to buy anymore mixes (although I'm sure the tastefully simple people won't be happy with that). It's just self-rising flour, sugar, and liquid of your choice. There are millions of variations!!! Here are the pics from the mix, and I will post the copycat recipe when I try it, after I buy some of that flour.

*I used Busch beer because it was the only thing I could find that wasn't a light beer... I don't know what kind of beer would be the best.

Bountiful Beer Bread

Photo Sharing and Video Hosting at Photobucket

Photo Sharing and Video Hosting at Photobucket

Photo Sharing and Video Hosting at Photobucket

Photo Sharing and Video Hosting at Photobucket

Photo Sharing and Video Hosting at Photobucket

Fruity Pebbles Treats

So I make these all the time and I wasn't even going to take pics, but then no one I know has ever had had these before so I decided to post it just in case you too have never heard of the best thing ever since Rice Krispies Treats. I originally found this recipe in a magazine like Better Homes and Gardens or something, but they have the microwaveable recipe right on the bag of marshmallows that I bought. They're really really easy and ten times better than RKT's.

Fruity Pebbles Treats

1 box Fruity Pebbles
1 bag marshmallows (any size, I used large, but I've used tiny colored ones before)
1/2 stick butter

Melt Butter in a pan on Medium-High. Stir in marshmallows until they melt. Turn off heat, stir in Fruity Pebbles. Spread in a 13X9 pan that has been sprayed with PAM (I used 'Pam with Flour')


*When I made these I forgot that I had eaten a few bowls of cereal, so I didn't make the entire tray worth, but no big deal. It's actually best if you use a bag of cereal that has been open for a little while, because if they are really fresh they are too crunchy in my opinion.

Pics:

Photo Sharing and Video Hosting at Photobucket

Photo Sharing and Video Hosting at Photobucket

Photo Sharing and Video Hosting at Photobucket

Photo Sharing and Video Hosting at Photobucket

Tuesday, September 18, 2007

Snickers Cookies

I found this recipe online a few months ago, because my bf really liked snickers but now he is eating healthily and I never got around to making them. Well, I finally made them today and they are pretty good, very very sweet, so I'm not sure if everyone will like them, but I'll let you know the reviews from my Pittsburgh friends.

*This recipe is actually pretty vegetarian friendly, (although I'm not sure how vegetarian Snickers are) it has no eggs in the batter although it wouldn't be vegan because it has honey. I should also mention that the honey flavor is very very strong in the finished cookie. Not sure if that is good or bad though. And I take issue with the directions that say to use an "Ungreased" cookie sheet, because my cookies got very very dark on the bottom, so I would grease the sheet next time. One last thing, I was worried that it said to "cut in" the /butter/pb because I've had to do that for shortbread and it was a pain, so I just stirred the dry ingredients togethr and then blended the rest at the same time with my hand mixer (still no stand mixer yet)and it worked well.

Snicker Cookies

1 3/4 cup all purpose flour
1/2 cup sugar
1/2 tsp. baking soda
1/4 tsp. salt
1/2 cup butter
1/2 cup creamy peanut butter
1/4 cup honey
1 Tbsp. milk
24 miniature snickers

Combine flour, sugar, baking soda and salt. Cut in butter and peanut butter until mixture resembles coarse crumbs. Beat in honey and milk until well combined. Mold roughly 1 tablespoon of dough around candy. Place on ungreased cookie sheet, Bake 12 - 15 minutes at 350 degrees.

Makes 24


Pics:

Photo Sharing and Video Hosting at Photobucket

Photo Sharing and Video Hosting at Photobucket

Photo Sharing and Video Hosting at Photobucket

Photo Sharing and Video Hosting at Photobucket

Photo Sharing and Video Hosting at Photobucket

Photo Sharing and Video Hosting at Photobucket

Monday, September 17, 2007

Banana Bisquick Bread II

I just wanted to update and say that I made the Banana Bisquick Bread again today because my mom and her co-workers liked it so much she wanted to take it work again. The bread turned out exactly the same, and I wanted to mention that although it says "Bisquick" I actually used a generic brand, and it worked perfectly.

Also, I will be baking a few cakes in the next two weeks so I will be posting those soon. Get excited!!!

Monday, September 10, 2007

Buckwheat Pancakes

Today my mom and I got up early and went to the Flax Scutching Festival in Stahlstown, PA. We used to go with my sister and nieces and nephew when we were all little for their "famous" buckwheat pancakes. I took a pic, and decided to post about it because most people have never even heard of buckwheat. I guess you could say it has a yeasty/sourdough/beer taste too it. It definitely must be eaten with sweet syrup to complement that flavor. My friend Lesley says that it is safe to eat for those with gluten-allergies so I bought a bag of buckwheat flour and I'm going too look for dessert recipes to make for her.

Her is the link to the festival:
http://flaxscutching.com/

Here is the picture:
Photo Sharing and Video Hosting at Photobucket

Thursday, September 6, 2007

Hershey's "Especially Dark" Chocolate Cake

So I found this recipe online, and my friend Caitlyn's birthday was coming up so I saved it and made it this past Monday for her birthday. The cake was super moist, and the icing was AMAZING but you should totally double the recipe for it, because everyone wanted more icing than cake. Also, I wasn't sure how to add the boiling water because I didn't know if it was 1 cup before or after it boiled, and I boiled it in the microwave so I had to scoop it into the mixture with a measuring cup to make it exact. Also, I did not have enough vegetable oil, so i just used slightly less and slightly less flour and cocoa. Which makes me wonder about Rachael Ray who says she doesn't bake because it is so exact, yet I estimate things all the time and they turn out ok!!! And, I made it in one 13X9inch pan because I couldn't find two 9inch ones and it took 28 minutes in my oven.


Hershey's "Especially Dark" Chocolate Cake

Ingredients:
• 2 cups sugar
• 1-3/4 cups all-purpose flour
• 3/4 cup HERSHEY'S SPECIAL DARK Cocoa
• 1-1/2 teaspoons baking powder
• 1-1/2 teaspoons baking soda
• 1 teaspoon salt
• 2 eggs
• 1 cup milk
• 1/2 cup vegetable oil
• 2 teaspoons vanilla extract
• 1 cup boiling water
• "ESPECIALLY DARK" CHOCOLATE FROSTING(recipe follows)
Directions:
1. Heat oven to 350 F. Grease and flour two 9-inch round baking pans.

2. Stir together sugar, flour, cocoa, baking powder, baking soda and salt in large bowl. Add eggs, milk, oil and vanilla; beat on medium speed of mixer 2 minutes. Stir in boiling water (batter will be thin). Pour batter into prepared pans.

3. Bake 30 to 35 minutes or until wooden pick inserted in center comes out clean. Cool 10 minutes; remove from pans to wire racks. Cool completely. Frost with "ESPECIALLY DARK" CHOCOLATE FROSTING. 10 to 12 servings.


"ESPECIALLY DARK" CHOCOLATE FROSTING

1/2 cup (1 stick) butter or margarine
2/3 cup HERSHEY'S SPECIAL DARK Cocoa
3 cups powdered sugar
1/3 cup milk
1 teaspoon vanilla extract

Melt butter, Stir in cocoa. Alternately add powdered sugar and milk, beating to spreading consistency. Add small amount additional milk, if needed. Stir in vanilla. About 2 cups frosting.


Here are pics:

Photo Sharing and Video Hosting at Photobucket

Photo Sharing and Video Hosting at Photobucket

Photo Sharing and Video Hosting at Photobucket

Photo Sharing and Video Hosting at Photobucket

Photo Sharing and Video Hosting at Photobucket

Photo Sharing and Video Hosting at Photobucket